A vision board (or dream board) is a collage of images, pictures, and affirmations of your life goals that serves as a source of inspiration and motivation. They can be long-term goals or short-term goals. Vision boards have received praise from such celebrities as Oprah Winfrey, attesting to the tool’s effectiveness when it comes to getting what you want from life.
Designing a vision board will literally help you to envision your future. It’s a power tool with amazing benefits for its user, such as:
If you’re reading this article, you’ve made the commitment to create a vision board for yourself or someone else, using an easy-to-navigate graphic design program. Congratulations on taking the first step! And with that, I’m going to walk you through how to make a vision board on Canva.
If you’re not already familiar with Canva, never fear. Check out our review that covers everything you need to know to get started. And now you’re ready to rock!
Step 1: Journal Your Goals and Desires.
Think about what matters most. Family. Friends. Romance. Career. Religion/spirituality. Financial security. Your home. Pets. Hobbies. Health and fitness.
Writing it down in a journal not only helps you to figure things out… but gives your goals and desires more credibility, making you feel more accountable to make things happen.
When it comes to creating your vision board, your journal will serve as an excellent outline for the next step.
My personal vision board will draw inspiration from the following:
Step 2: Search and Select Images that Represent Your Goals and Desires for the Next Phase of Your Life
These can be a combination of photos, images, quotes or sayings that motivate you. Maybe you have special photos saved on your device or a website you like to visit for inspiration.
Many people find luck with Pinterest, which allows you to download images to your computer. Simply click on the 3 dots to the right of the image and select “Download image”.
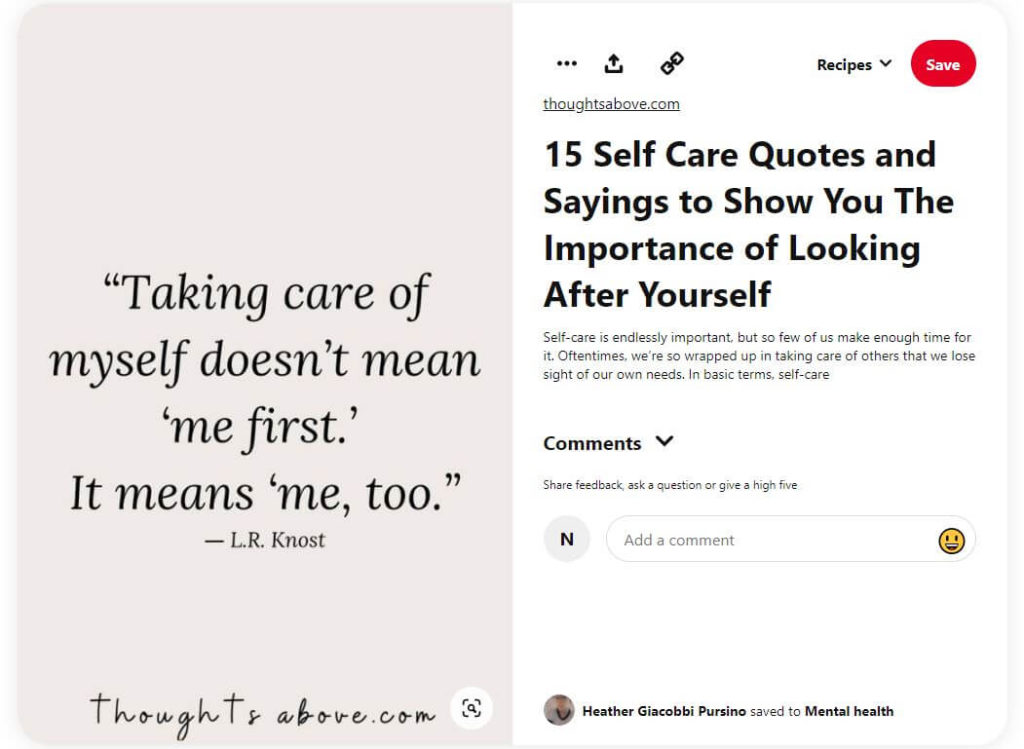
You can search online or skip ahead to Step 5 to search from Canva’s wide selection of stock images and inspirational words.
Step 3: Save Images to Your Device or Dropbox Folder
When planning to use Canva for your vision board, we strongly suggest having a dedicated folder on your device for downloaded images. That or create a dropbox folder.
This makes it easily accessible for uploading your images to Canva, should you choose not to use only their stock.
Step 4: Select “Create a Design” and Choose your Sizing Options
For purposes of printing the vision board out, I would suggest you stick with a size your printer can handle. That or save the file to a dropbox folder or portable drive and take it to a business that can print the size you want.
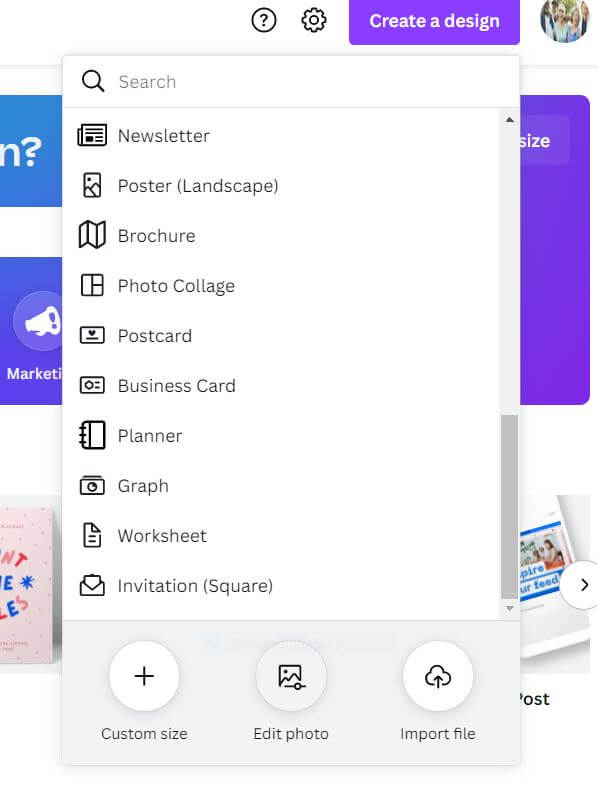
I opted to go with a poster size for my vision board, which is 18×24 inches. You can get as creative as you want… after all, isn’t that part of the process when figuring out how to make a vision board on Canva? Many users will elect a standard letter size of 8.5×11. And some will even piece multiple vision boards together to create a larger one.
There is no wrong way to lay it out here. It’s your vision.
Step 5: Save your Creation
Before you get too far with your project, it’s a very good idea to save your vision board. You can do this by simply clicking the box on “Untitled design -”, which is located at the top right of your toolbar next to the “Share” button.

Simply type in a name for it and you’re all set, in case you wanted to pause the project and come back to it later.
Step 6: Upload Images from your Device or Choose from Canva’s Library
Select “Uploads” from the side bar menu and click on the three dots to the right of the purple “Upload media” button. You are given choices of:
I chose to upload from my saved desktop folder and selected my images. They were quickly added to the selection of Canva images on the left side of the screen.
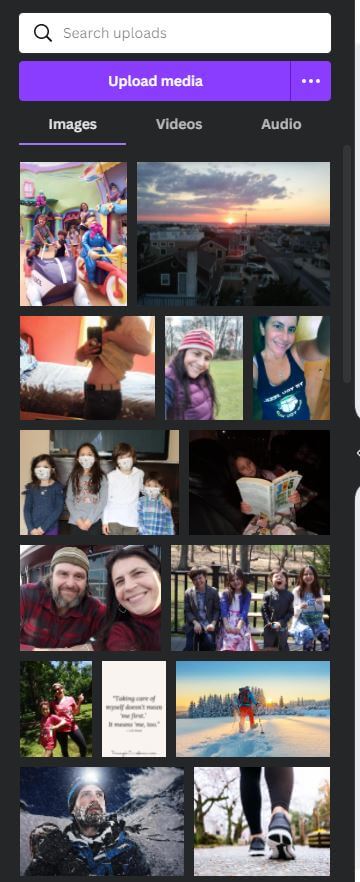
I also elected to search for additional quotes and stock images from the Canva library to add to my vision board once I lay it out. Keep in mind, while there is a pretty good selection of free photos to choose from, an upgrade to Canva Pro will get you all of them.
An upgrade may not be necessary if you’re just starting out, but some of the features being offered are definitely worth considering if you plan on taking your Canva skills to the next level… or run a business. The “Schedule Social” feature allows you to schedule your creations for timed posting on all of the major social media platforms, which is a particularly cool feature for businesses large and small.
Personally speaking, I could have benefited from the “Background Remover” feature, which is perfect for product photos, headshots or transparent PNGs.
Step 7: Layout Your Grid and Use the “Position” Feature to Overlap Photos
If you’re new to Canva like I was, using “Elements > Grids” is the simplest way to get your vision board laid out. The “Elements” menu is also to the left of the screen. “Frames” is another fun tool, just above “Grids”.
Play around with a layout until you’re happy with the way it looks. For instance, you can put the most inspiring quote or saying in the middle of your vision board within a fun frame and work from there… should you choose. That’s what I did by simply selecting a frame and then going back to my “Uploads” to drag and drop my quote over it. You can resize the frames and grids as well.
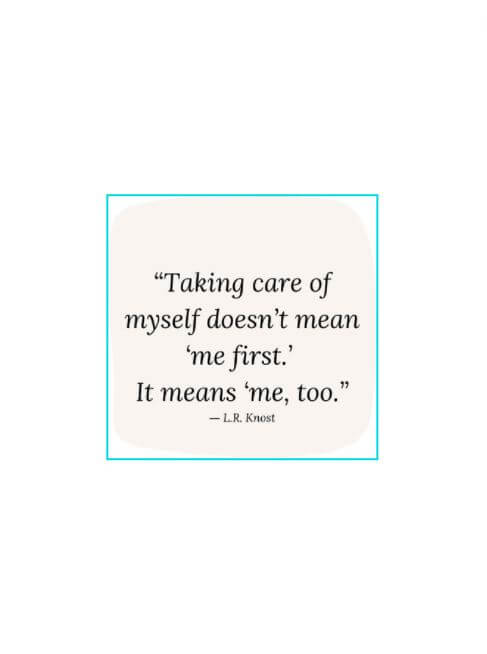
As you can see from my vision board motivators list at the start of the article, my kids are my world… but, while I’ve spent so many years playing “mommy”, I lost sight of “momME”. This means I have developed some serious guilt about doing anything for myself.
Self-care is not something I have made a priority during the last 12 years… and that’s on me. I only just realized this about four months ago. So, what was the trigger?
Well, the kids went back to school full-time. In fact, this was the first time ever that all four of my kids were out of the house for 7+ hours… so I had time on my hands. Time to think. Time to reflect. At times, the silence was deafening and a bit sad.
Luckily, I was given the opportunity to work more hours doing what I love… writing and editing. For the first time in years, I had a smile on my face when I told people what I did for a living. I was no longer defined by being a “stay-at-home” mom… I was now a “work at home” mom.
Now that I had a taste of what life with growing children could be like, I started to ask myself what else I wanted. I was entertaining possibilities for myself for once… not just them. I realized that if I’m not my best self, I can’t be the best mom.
So, I came up with my vision board items. What did I want to change? What did I want to make happen? What example did I want to set for my kids as they grow up?
Step 8: Drag and Drop your Favorite Images and Words onto the Grid
Once you’ve got your board laid out, drag and drop your favorite stock or uploaded images and sayings on the board. You are able to manipulate the grid sizes and shapes, as well as right click to move the images forward or backward… which is basically what Canva refers to as “position”.

Using position won’t give you as clean of a look as the basic “Grid” feature… but it’s all about how you feel and what moves you. And the best part is, you can keep resizing and playing with depth as much as you want until you’re happy.
Step 9: Add Text or Special Effects
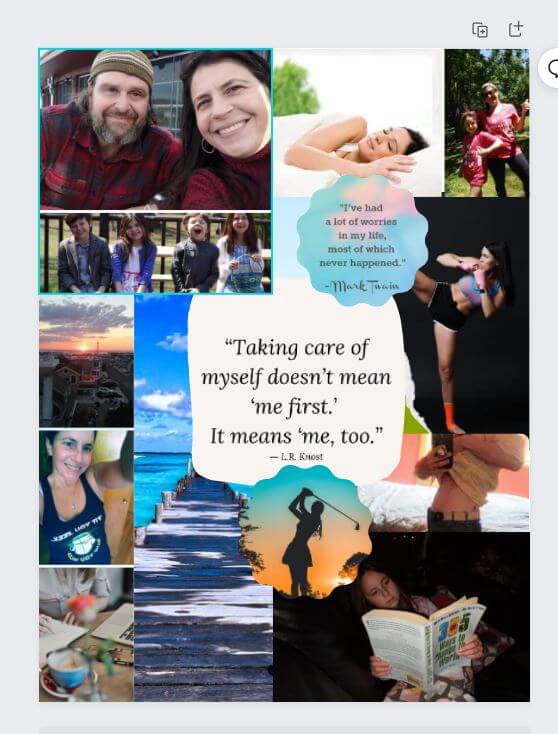
Once my grids were all set, I had the opportunity to dress up my vision board with some bells and whistles. This means exploring special effects and the “Text” tool. You can type your own text and change the font size and style, should you choose.
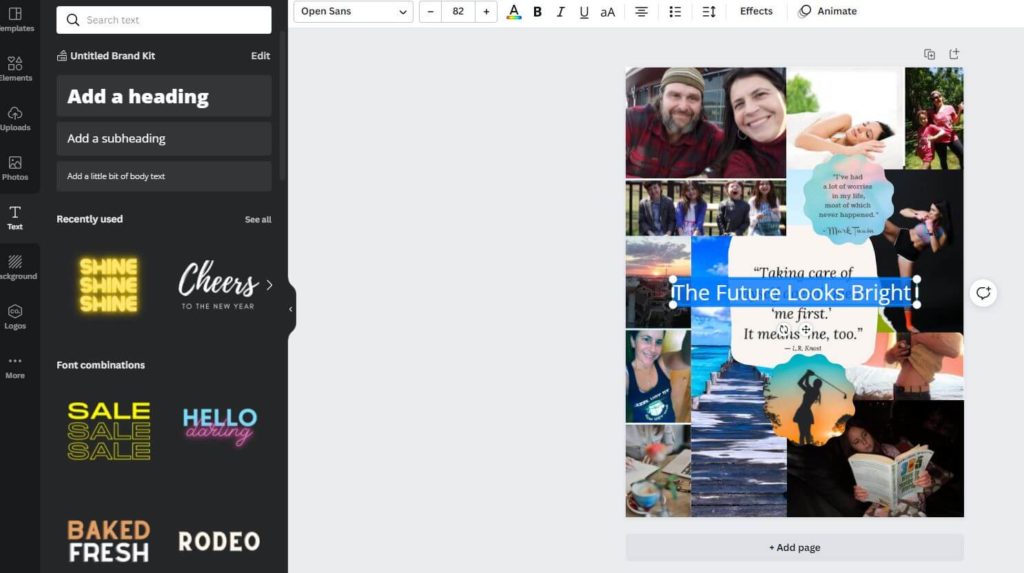
Once your cursor is over the design, the “effects” tab will show up on the top of the screen. This allows you to incorporate some fun lettering, like 3D and neon. I actually chose not to do this with my vision board. I just wasn’t feeling it.
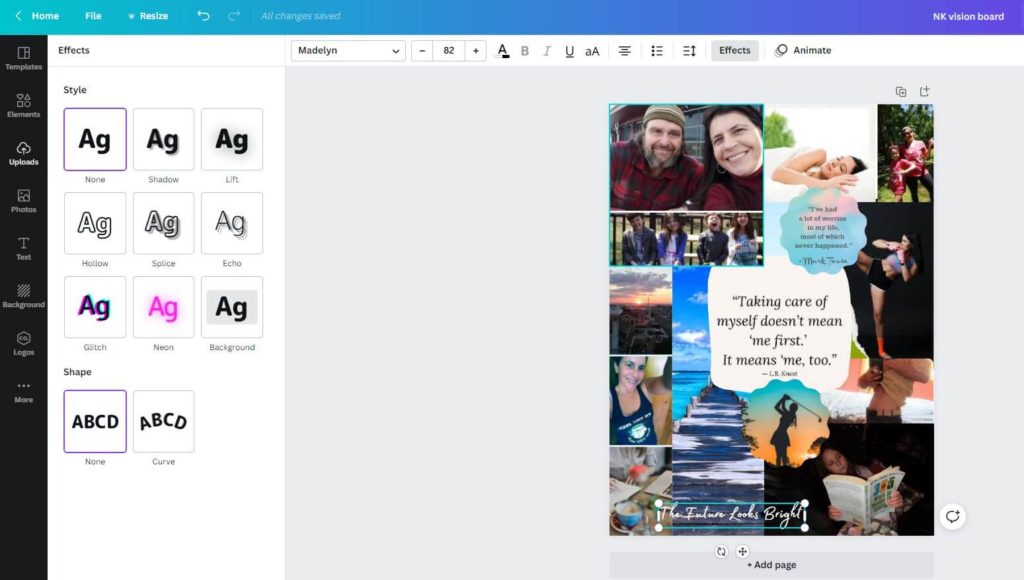
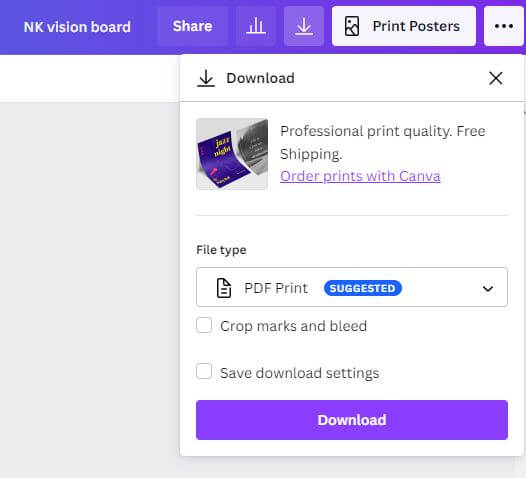
Step 10: Download to your Device, Order Prints or Share Your Vision Board
So, now that you’ve put in the work… it’s time to own it! You’re given a few options once your vision board is complete. You can:
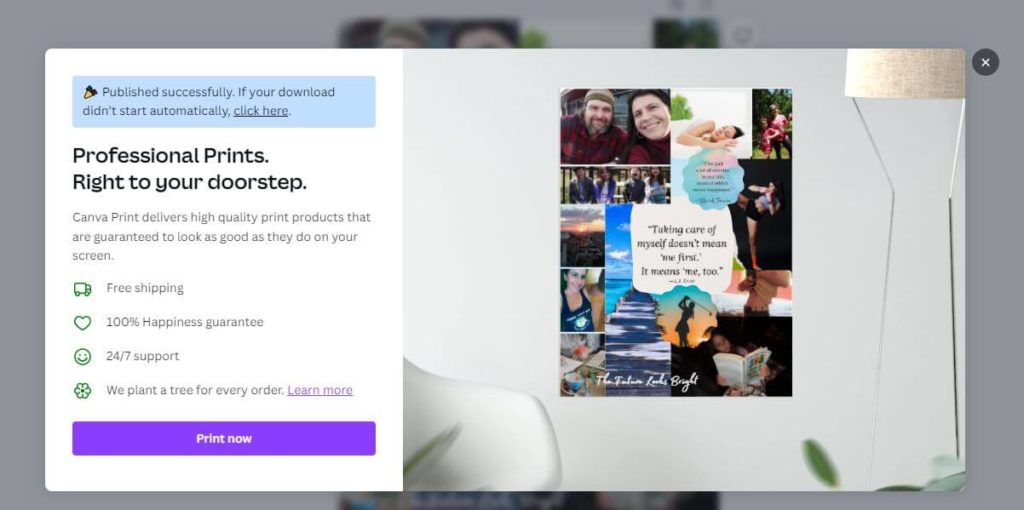
Personally speaking, I think it’d be pretty cool to have my vision board staring back at me while sipping my morning cup of coffee. It’d be a great way to start the day… reminding myself what really matters.

Final Thoughts On How to Create a Vision Board on Canva
Do not let Canva’s somewhat busy interface intimidate you. While it offers a lot of options that play into every user’s creative side, it’s actually pretty easy to self-navigate and figure out.
The undo button makes it “goof proof” and there are many video tutorials and “how to’s” online for different projects. Articles such as ours, for instance, that focus on what you want to accomplish using Canva.
I’d be lying if I said I wasn’t a tad put off by Canva the first time I explored it, but it was really easy to play around with while I figured things out… and here I am.
So if you want to create effective vision boards, then be sure to check out Canva today!
Vision boards are a tool every single person should have in their arsenal if they want to find true happiness and contentment in life. But the board won’t just create itself… you need to quiet your mind and focus on what matters so that you can manifest the future you deserve and want.
Once you’ve found your why, it’s time to set SMART Goals. You can learn what those are and how to obtain them by checking out this article. You’ve got this!
Finally, if you don’t know how to get started with this strategy, then check out this FREE printable worksheet and a six-step process that will help you create the PERFECT vision board.

